Maps and Charts
These are interspersed during the course of the story, but are included here for ease of reference; they do contain spoilers.
Map A - General Map
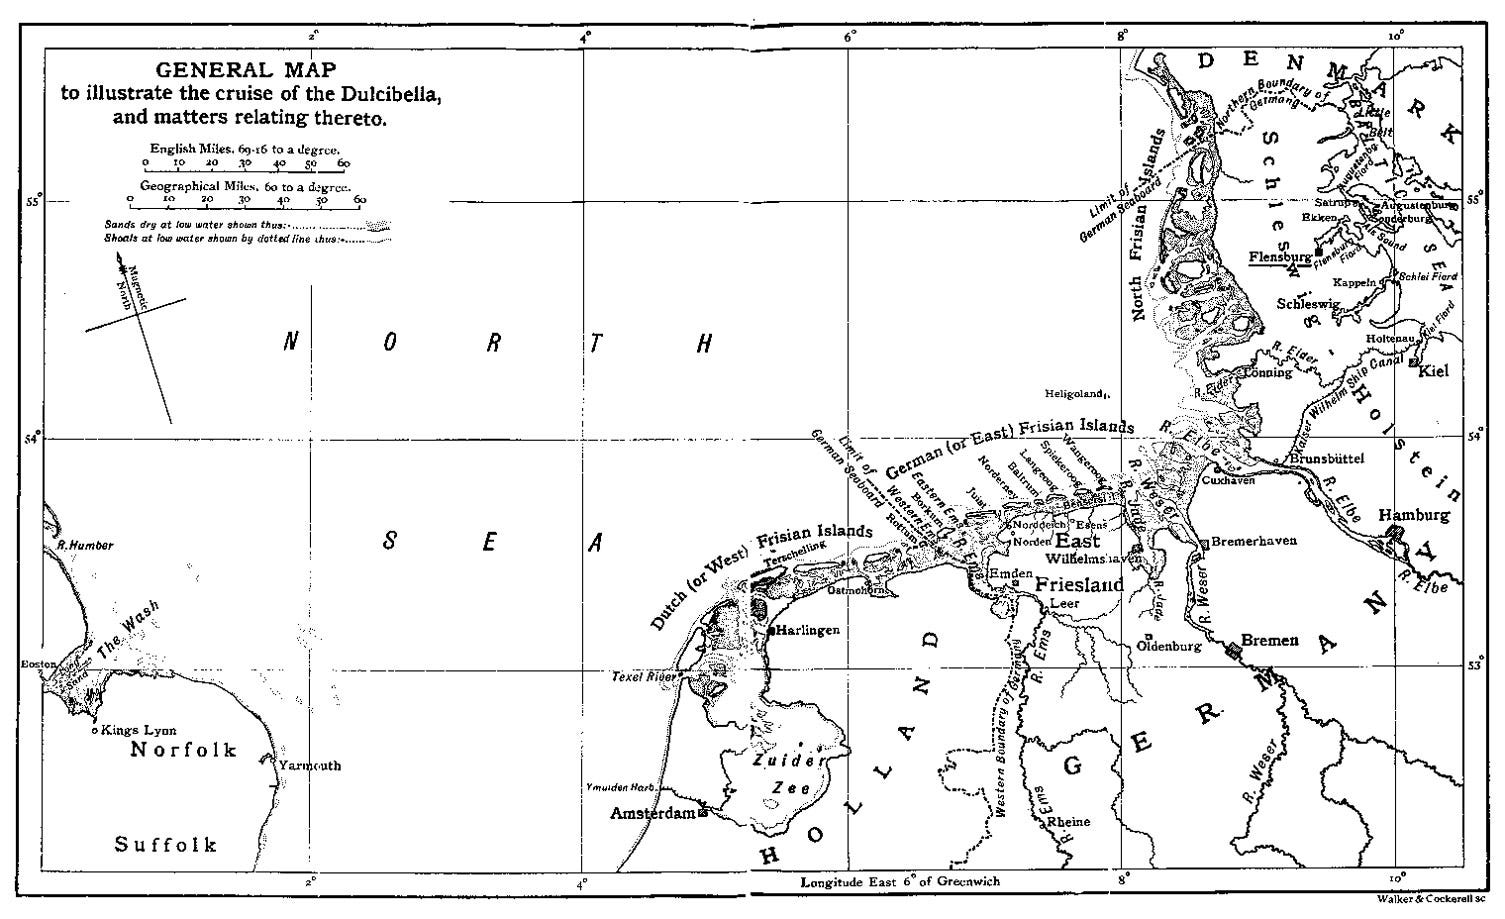
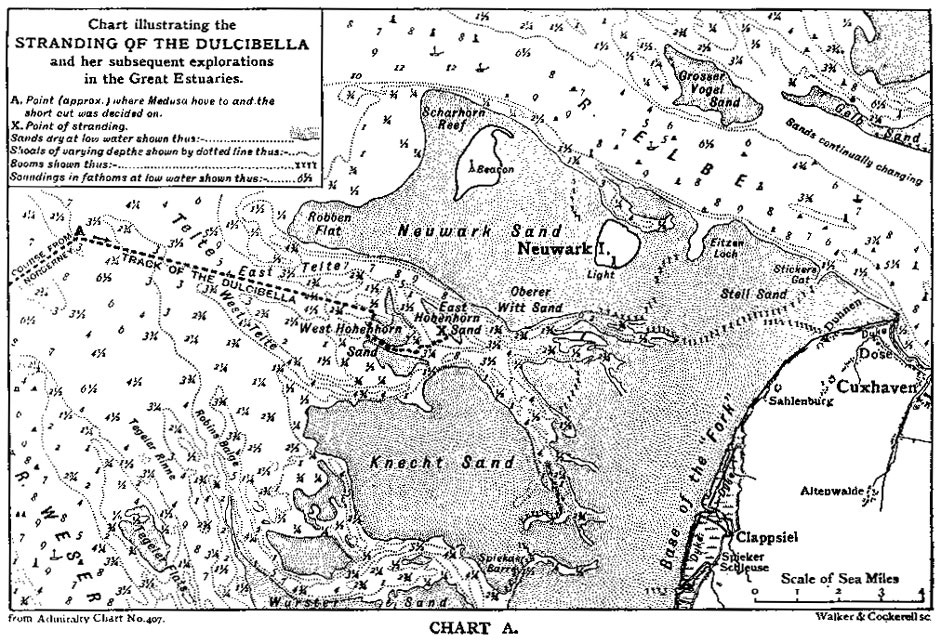
Chart A—Chart to Illustrate the Stranding of the Dulcibella, etc.
Map B—Map of East Friesland
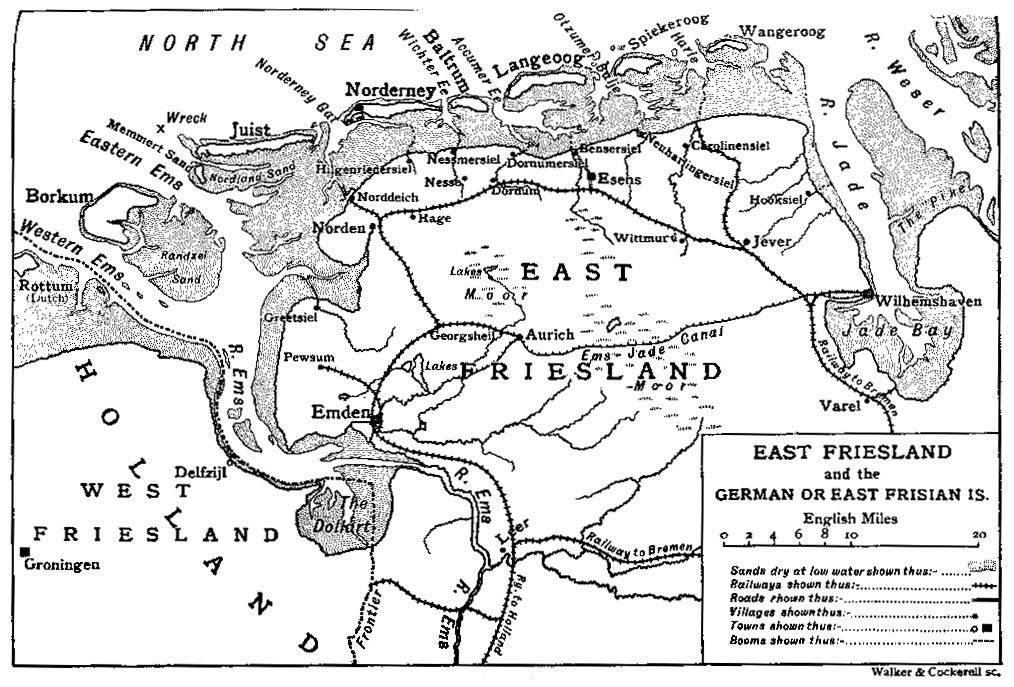
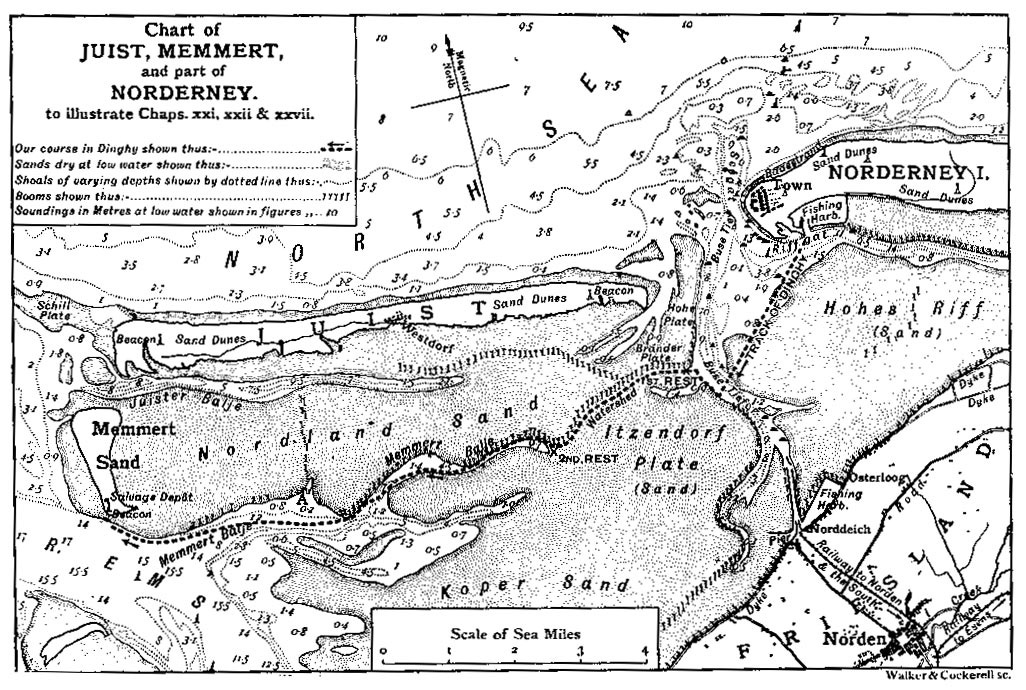
Chart B—Chart of Juist, Memmert, and Part of Norderney
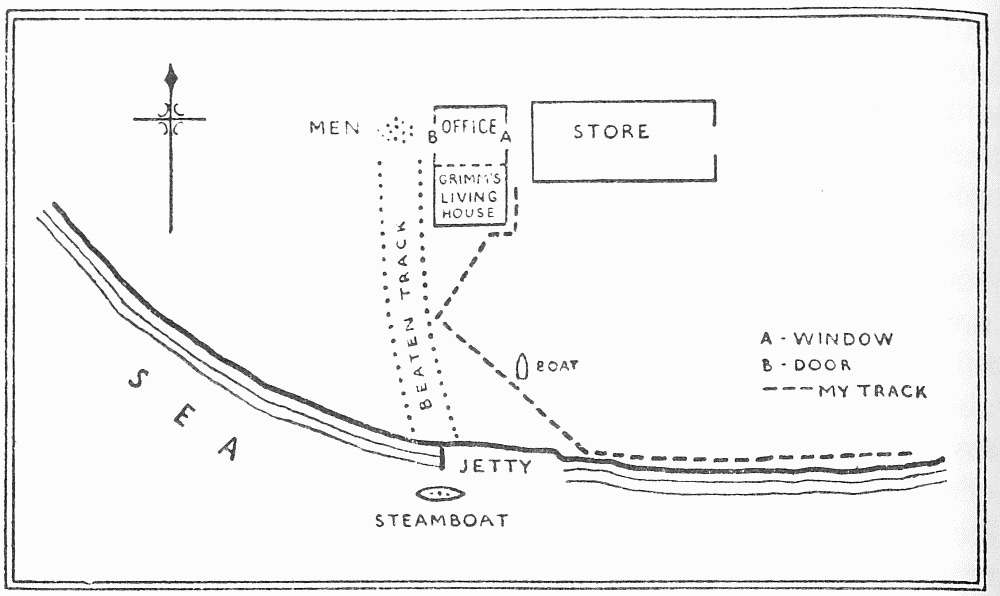
Sketch—Memmert Salvage Depot